
Perhaps the most irritating of all audio phenomena for the recording engineer / music producer is Sibilance.
With modern production working towards having ever brighter, cleaner, fuller and more dominant vocal elements, understanding and taming Sibilance is an essential skill for the modern producer.
In the following article we look over what sibilance is, what causes it and how to combat it.
Contents
- What Is Sibilance?
- What Causes Sibilance
- How To Remove Sibilance in Vocals (At The Recording Stage)
- How To Remove Sibilance In Vocals (At The Mixing Stage)
- How To Use A De-Esser To Remove Sibilance in Vocals
- Tips on using a De-Esser
- The Importance Of Clarity In Vocals

Unfortunately it produces a lot of noise, and can sound pretty nasty when recording technique or microphone choice exaggerates it, read on to find out more.
What Is Sibilance?
Sibilance is a term used to describe the harsh resonances and hisses that can be introduced by certain syllables when recording vocalists.
Some examples of such syllables include: ’S’s, ‘Ch’s, ‘Sh’s, ‘Th’s and ’T’s.
Sibilance is commonly found in the 5-8kHz frequency band, but it is also able to occur above 8kHz.
This problem is usually caused by the vocal formants in the 5-8kHz region and can be exaggerated by poor microphone technique or the choice of microphone itself.
All microphones feature a different frequency response, so those that are more sensitive to the 5-8kHz frequency band will make sibilance more prominent in a recording.
What Causes Sibilance
The syllables that cause Sibilance (e.g. ‘Sh’) are referred to as a vocal formant called a fricative consonant – this is any sound that we vocalise by constricting the passage of air through our airway (mouth) by using two of our anatomical features such as the tongue and teeth.
Sibilance is a very important aspect of human speech, but it creates a lot of noise which, in the context of Music Production, is a problem.
When recording, Sibilance is pronounced by either a bad microphone technique, a poor microphone choice or a combination of the two.
Though the vocalist’s mouth shape and accent will contribute too.

How To Remove Sibilance in Vocals (At The Recording Stage)
As Sibilance is introduced in the recording stage, the best way to combat it is there at the beginning of the process.
Solutions to removing Sibilance in a recording include but are not limited to:
- Altering the position of the microphone relative to the vocalists mouth.
Start by increasing the distance between the microphone and the vocalist, 30-45cm is a good place to start. - Using a microphone that accentuates less of the high end (one that is less sensitive to high frequencies).
Experiment with different types of microphone and refer to their frequency response graphs for help on selecting the right one. - Once you have a good combination of microphone type and distance that helps to reduce Sibilance: consider angling the microphone down 10 degrees or more.
Try angling the microphone towards the throat instead of the mouth, which is the Sibilant source. - Using a pop shield will help to reduce airflow into the microphone, which may help combat Sibilance to some extent, though many professionals see the previous points as far more effective.
Despite popular belief, using a pop shield is actually not the best option for removing sibilance – this is a mounted thin fabric which will reduce the airflow onto the recording device – though it can help to remove pops caused by plosives (syllables which eject large amounts of air) such as ‘P’s and ‘B’s. - Most importantly, experiment and try different approaches to figure out what works best with you and your vocalist – remember that recording is an art form and not an exact science.
Every vocalist will be unique and different, don’t ever think that what works for one will translate perfectly for another.
How To Remove Sibilance in Vocals (At The Mixing Stage)
If you do not have the option of re-recording the vocal – as is the case with most producers working with vocals – then there are also some vocal processing techniques that can remove or help to reduce sibilance:
- Manually automate the channel gain to duck at any instances where Sibilance is present.
This is recommended by many professionals as it gives more precise control over dynamics, general compression will often make Sibilance worse. - Don’t overdo compression, as it may be boosting the volume of the Sibilance in the recording.
- Be wary of high shelf boosting on vocal parts, as sibilance sits in this frequency band.
- Watch out for any effects that make sibilance more prominent such as reverb or delay.
To fix this, use these FX on a send with a De-Esser placed before them in the FX chain, alternatively you can use volume automation. - Use a De-Esser (explained in more detail below).

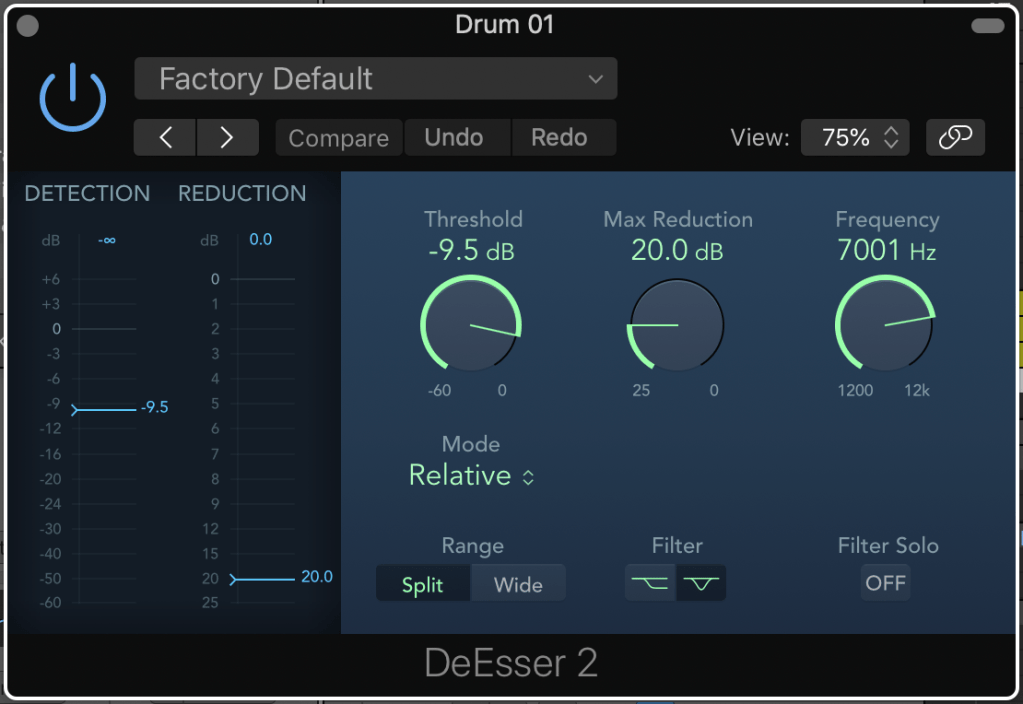
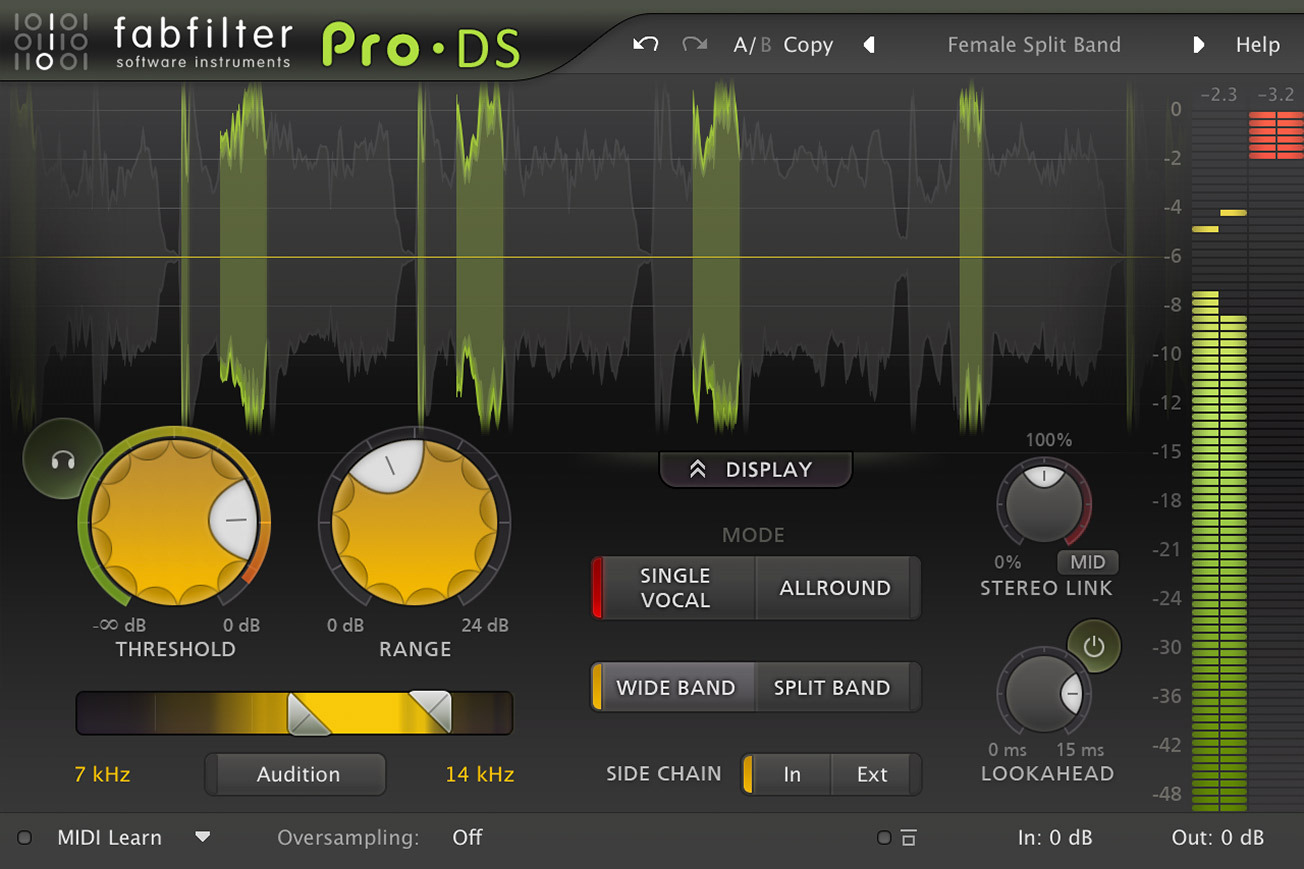
How To Use A De-Esser To Remove Sibilance in Vocals
With it being such a thorn in the side of music producers, you will bet that they have thought up a solution to the problem of Sibilance when re-recording is not an option.
Fortunately they have, it’s called a De-Esser!
It is used to detect and reduce Sibilance in a target frequency band without effecting the rest of the audio signal.
Here is how you use one:
1. Begin by setting the detection and target frequency – both should target the sibilant frequency, you can use a spectrum analyser as a visual aid for help with this.
2. Narrow or widen the target frequency band to taste.
3. Set the Sensitivity (sometimes referred to as release time or threshold) – this is the same as with a compressor.
4. Set the Strength to control how much gain reduction to apply to the target frequency – how much you need the volume of the sibilance to be reduced.


Tips on using a De-Esser
- Consider applying multiple De-Esser’s for each problematic frequency, as there may be multiple frequency bands with sibilance present (for example ’S’s are often different to ‘P’s).
- Use automation to mute or reduce the De-Esser when there are no sibilant frequencies playing, as it will likely have an effect on the vocal.
- Be mindful of its position in the FX chain, it is common practice to place the De-Esser last in the chain after compression and EQ.
- Be careful with how much you use a De-Esser, as it can reduce audio quality or produce un natural sounding vocal timbre when overdone – try to use a well produced vocal led reference track as a reference when working with the effect.
- Experiment with using a De-Esser on other elements and instruments in your track that may benefit from targeted frequency reduction.
- Do not listen too loudly when removing sibilance while mixing, as loudness can often mask detail in the audio. Try to mix with a control room loudness of 78 – 83 dB(C) SPL.

The Importance Of Clarity In Vocals
At this point you may be wondering why it’s important to remove Sibilance from a vocal recording in the first place.
The simple answer is that it greatly improves clarity and gives more control to you, the producer, over how you can manipulate and sculpt the sound.
Harsh Sibilance can totally destroy a vocal and popular FX such as reverb will pronounce the problem, further reducing how intelligible the vocal is.
It’s no secret that vocals are among the most important elements of a track for communicating with and capturing the listeners attention, especially when it comes to popular culture – an instrumental song is never found in the top charts!
Vocals are the key to mainstream success and producers know it.
As a consequence, modern production techniques have tended towards creating more and more clarity and power in the vocal.
The removal of sibilance is a crucial first step in achieving this, so bookmark/save this post and don’t forget to keep an ear out for it!
This Article is brought to you by KAN Samples.
Pro Audio Tools for Producers.
Subscribe For Free Samples
You Will Get:
✅ 100% Royalty Free Samples For Music Production.
✅ A Free Demo Pack of our latest Product.
✅ Free Demo Packs of all Future Products.
✅ Unsubscribe any time.
✅ No junk mail.

0 comments on “Vocal Processing: Understanding And Combatting Sibilance”