
When it comes to Drum and Bass production, vocals can play a crucial role in creating a standout track.
A well-processed vocal that blends seamlessly with the other elements of the mix can make all the difference.
Compression, an essential tool in an audio engineer’s arsenal, offers more than just dynamic control and can greatly enhance your vocal mix.
However, it’s important to understand that compression is not a magic fix for performance or recording mistakes.
If you’re working with a dynamic singer and lack confidence in using compression, it’s best to avoid it altogether.
Improperly applied compression can suck the life out of a performance, introducing unwanted artifacts that are difficult to fix during the mixing stage.
Compression can even emphasize poor acoustics, vocal performance errors, and ineffective application of other processing techniques like equalization and reverb.
Assuming these elements are well-executed, compression can take your production to the next level.
Many vocals in popular drum and bass tracks are treated with a generous amount of compression to achieve their polished sound.
It’s worth noting that extreme settings on compressors, such as fast attack and release times, high ratios, and excessive gain reduction, can be exciting and have their place in vocal production.
As a starting point, using more moderate settings usually yields a more natural sound.
Now let’s delve into the techniques we use when compressing vocals in a drum and bass mix.
Contents
- Manually Reduce Dynamics Using Clip Gain Before Compressing
- Chain Together Multiple Compressors
- Familiarise Yourself with Compressor Types and Evaluate What Works Best in Various Settings
- Make Use of Different Compressor Models Unique Tonal Characteristics
- Use Parallel Compression
- Understand, Target And Reduce Sibilance
- Bring the Vocal Front And Center By Using Compression
- Conclusion

Manually Reduce Dynamics Using Clip Gain Before Compressing
While compression is commonly used to level the amplitude of signals, using clip gain to balance the quieter and louder sections of the vocal first ensures a more even application of compression throughout the entire song.
Clip gain refers to the process of adjusting the volume levels of individual audio clips or regions within a digital audio workstation (DAW). It allows producers and engineers to manually modify the gain or volume of specific sections or segments of audio, independent of any overall track volume adjustments.
This approach helps you avoid the audible artefacts that can occur when compressing extremely dynamic signals, vocals included.
Chain Together Multiple Compressors
In addition to the previous technique, using multiple compressors in series can yield excellent results.
Start by setting one compressor to apply moderate gain reduction (1-4 dB) on the loudest passages.
Then, insert a second compressor later in the signal chain that applies more even gain reduction (again, only a couple of dB) across the entire vocal.
This approach allows you to avoid the negative artefacts associated with compression by using two different compressors conservatively.
The first compressor engages only on the loudest parts, preventing the second compressor from working too hard.
The classic combination of the 1176 into an LA-2A is a popular choice, but feel free to experiment with different compressors, including stock plugins in your DAW.
You can also use multiple compressors in the same chain, albeit not one right after another, to achieve interesting results.
Familiarise Yourself with Compressor Types and Evaluate What Works Best in Various Settings
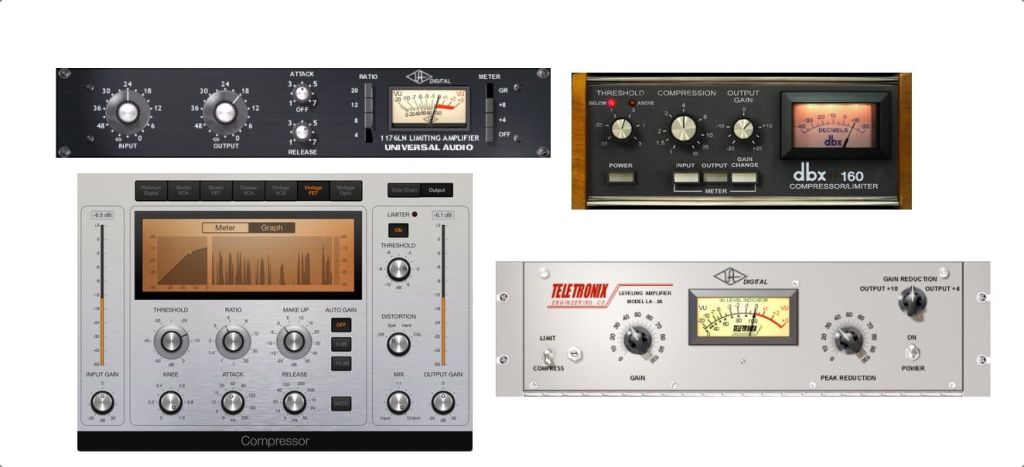
Understanding the characteristics of different compressor types (VCA, FET, optical, variable mu) and their impact on signal dynamics is beneficial.
Voltage Controlled Amplifier (VCA) compressors, such as the SSL G-series stereo compressor and API 2500, are popular for mix buss applications and can add punch to drums.
While they can be used on vocals, they are historically considered finishing compressors rather than ones used in console channel strips or mono hardware units.
Field Effect Transistor (FET) compressors, like the original 1176, are fast, bright, and aggressive-sounding, making them suitable for achieving an in-your-face vocal sound.
Optical compressors, such as the LA-2A and Tube Tech CL 1B, employ light elements and offer a smooth dynamics response, ideal for gentle and detailed vocal processing.
Variable MU compressors, like the Fairchild 660/670 and Manley Variable Mu, utilize tubes for attenuation, resulting in a soft knee and smooth compression quality.
Experiment with different compressor types to find the ones that best suit your Drum and Bass vocal mix.

Make Use of Different Compressor Models Unique Tonal Characteristics
In addition to dynamics control, compressors can impart unique tonal characteristics onto a vocal track.
Each compressor has its own harmonic flavour that can colour vocals in different ways.
For example, the opto LA-2A offers warmth, the FET 1176 emphasizes midrange, and the variable mu UAD 175b and 176 provide an open, tube-infused richness.
The Empirical Labs Distressor, a versatile VCA compressor, also offers its distinct sonic qualities.
Spend time exploring each compressor’s tonality and how it interacts with the dynamics of the vocal signal.
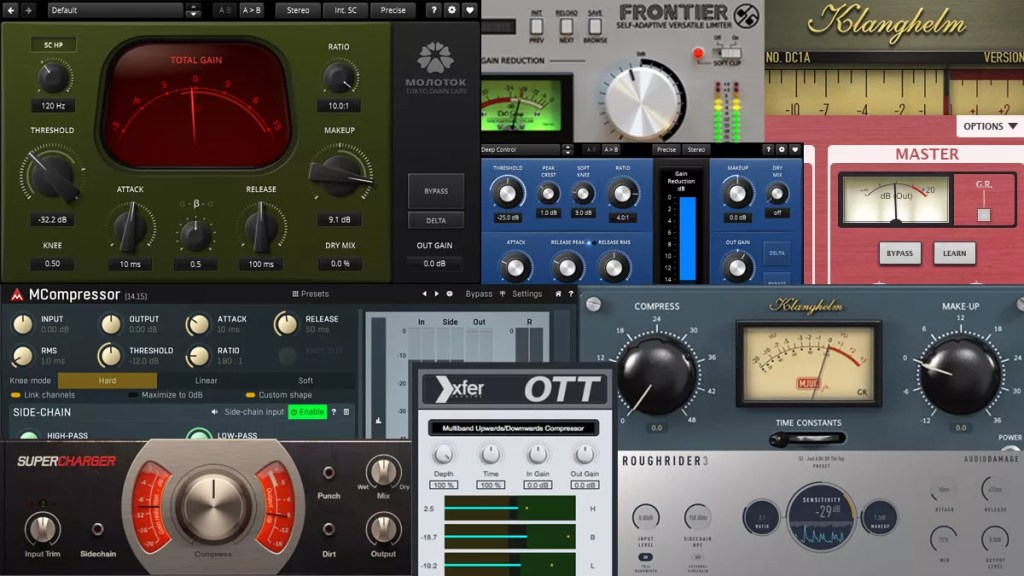
5 Examples of Popular Software Compressors and Their Characteristics
FabFilter Pro-C 2
The FabFilter Pro-C 2 is revered for its versatility and transparency.
It offers precise control over dynamics while maintaining the integrity of the original audio source.
With its clean and transparent sound, it is well-suited for transparent compression tasks such as taming peaks and controlling the overall dynamic range of a mix.
Additionally, its advanced features like sidechain filtering and look-ahead functionality make it an excellent choice for shaping percussive elements and achieving a polished, professional sound.
Waves SSL G-Master Buss Compressor
It imparts a distinct tonal coloration characterized by punchy, warm, and glue-like compression.
This plugin is particularly effective when used on the master buss or mix buss to add cohesion and enhance the overall mix, providing a cohesive and “glued together” sound reminiscent of classic SSL consoles.
Universal Audio LA-2A
It is widely regarded for its ability to add warmth, richness, and gentle leveling to individual tracks or vocal performances.
The LA-2A is particularly well-suited for vocals, acoustic instruments, and bass, providing a smooth and vintage character that brings a sense of classic analog warmth to the mix.
Native Instruments VC 76
The VC 76 plugin replicates the distinctive sound of its hardware counterpart, offering punchy and aggressive compression with a touch of harmonic saturation.
It excels at shaping drums, electric guitars, and other instruments that benefit from added aggression, energy, and presence in the mix.
Plugin Alliance bx_opto
It imparts a gentle, transparent, and natural compression effect, making it an excellent choice for dynamic control on individual tracks such as vocals, acoustic instruments, or delicate mix elements.
Its smooth and forgiving compression characteristics can add a touch of polish and subtlety to your tracks without sacrificing the natural dynamics.

Our latest Sample Pack Dark Rollers Vol.4 contains 710 Royalty Free ground breaking Drum and Bass Samples that help take your productions to the next level.
Use Parallel Compression
Parallel processing, blending an unprocessed vocal track with a treated one, is a common technique in modern music production.
Many plugins now offer a dry/wet blend feature, making parallel compression easily accessible.
Compressors like FabFilter Pro-C 2, UAD Empirical Labs Distressor, and Soundtoys Devil-Loc Deluxe are among our favourites for this purpose.
In dense drum and bass mixes, vocals can struggle to cut through.
To address this, its a good idea to send an unprocessed or minimally processed vocal to one or several auxiliary/return tracks and apply various effects, including compression, to each track.
Try creating one track with a bright and airy timbre and another with pronounced lower midrange for fullness and warmth.
When it comes to compression, you can use more pronounced settings on these auxiliary tracks because you blend them with the original vocal, maintaining a natural overall dynamic.

Understand, Target And Reduce Sibilance
Compression tends to accentuate the brightness and harshness of sibilant passages. While de-essers can help, excessive use can result in a “lispy” vocal quality.
In some pop mixes with accentuated high frequencies and around 10 dB of gain reduction on vocals, things can become overly sizzly and harsh.
To address this, try reducing the level of sibilant passages using clip gain.
Additionally, heavy compression on deep breaths leading up to singing can cause a swelling sound, where the breath becomes as loud or louder than the lyrics.
To remedy this, you can lower the breaths using clip gain or isolate them on a separate track.
Bring the Vocal Front And Center By Using Compression
By using appropriate settings, compression can create an up-front quality in the vocal signal.
Try using parallel multi-buss compression to achieve this (splitting the signal into multiple routes with different compressors), making the vocals feel like they’re coming right out of the speakers.
It’s important not to over-compress every bus in this process.
Typically, applying 3-5 dB of gain reduction (with make-up gain) and using moderate attack and release settings can position the vocals effectively.
While more extreme compression settings can be applied to other busses, it’s worth noting that compression tends to reduce the overall low-end response, making the signal, including vocals, feel smaller.
Once you’ve mastered bringing the vocals closer to the listener, you can use time-based effects like reverb and delay to create a sense of space.
It’s important to avoid excessive dynamic range in vocals when adding reverb, as quiet passages won’t be affected while loud passages may become too immersed in reverb.
Therefore, use compression to achieve consistency before introducing other effects into the mix.
Conclusion
Lastly, Always Consider Context Remember that compression is just one tool among many that contribute to a successful vocal production.
How you apply compression will impact other processing techniques like equalisation, saturation, de-essing, delay, and automation on your vocal tracks.
Take into account how compression interacts with these processes and make adjustments based on the needs of the song.
We hope this post helps you on your creative journey!
Do you have any essential Vocal Compression tips to share? Let us know in the comments.
This Article is brought to you by KAN Samples.
Pro Audio Tools for Producers.
Subscribe For Free Samples
You Will Get:
✅ 100% Royalty Free Samples For Music Production.
✅ A Free Demo Pack of our latest Product.
✅ Free Demo Packs of all Future Products.
✅ Unsubscribe any time.

0 comments on “How to Harness Compression for Stellar Drum and Bass Vocals”